
so first of all...
Happy St. Patrick's Day everyone! CHEERS!!
I kept double guessing myself..."Is it the 14th or the 17th?" --I'm a tard...
Anywho...
Anywho...
Every year I make a different version of Guinness Cupcakes. Last year it turned out to be a bland chocolate cupcake with lame chocolate frosting...Therefore I had to makeup for last years sad trial.
I GIVE YOU:
Guiness Cupcakes with Green Vanilla Cream Cheese Frosting!!
I GIVE YOU:
Guiness Cupcakes with Green Vanilla Cream Cheese Frosting!!
So we start here, the frosting ( so I can lick the spatula and wait while my cups are baking duh!)


Mmmmmm cream cheesee....
I let this sit in the fridge while I prepared my batter.
NOTE: make sure you sift your confectioners sugar before you add it in, and not enough sugar results in slimy frosting, bleh.
I sifted all my dry ingrediants first, then gradually added in the wet. I LOVE the smell of Guinness and chocolate, and that's probably why this recipe worked so well.
THE wet.....

NOTE: make sure you evenly distribute your batter so that you have even looking cakes...
To the dry...but not dried out ;)

(I use a Wilton silicone based cupcake sheet--it's easy to clean and works just like any other cupcake sheet. Actually it works a bit better in the way that it's easier to pop these suckers right out to cool and FROST!!)

 "mmMMM Guinness......cupcake"
(I use a Wilton silicone based cupcake sheet--it's easy to clean and works just like any other cupcake sheet. Actually it works a bit better in the way that it's easier to pop these suckers right out to cool and FROST!!)
 "mmMMM Guinness......cupcake"
But we're not finished yet!!! He's naked!!! *Gasp*

So I use disposable piping bags (I know, I know...I'll get the real bag) with reusable tips, and today I went for just a plain round tip. It was a large bag so I ended up filling most of it with my green frosting......
NOTE: Let the frosting come back to room temperature before you start loading and piping away. You might pull something trying push that deliciousness through that nozzle....
At this point of my baking sesh I do have a stomach ache...frosting for breakfast is not the way you should start your day....BTW I baked the cakes at night and frosted in the morning that way they were fresh and ready for the real world...
 You can't beat cream cheese frosting....
 1....2...3........3*!!
So I use disposable piping bags (I know, I know...I'll get the real bag) with reusable tips, and today I went for just a plain round tip. It was a large bag so I ended up filling most of it with my green frosting......
NOTE: Let the frosting come back to room temperature before you start loading and piping away. You might pull something trying push that deliciousness through that nozzle....
At this point of my baking sesh I do have a stomach ache...frosting for breakfast is not the way you should start your day....BTW I baked the cakes at night and frosted in the morning that way they were fresh and ready for the real world...
"Eh bowl of cereal....or frosting........FROSTING!"
 Oooo yahh lookin frosty... ;)
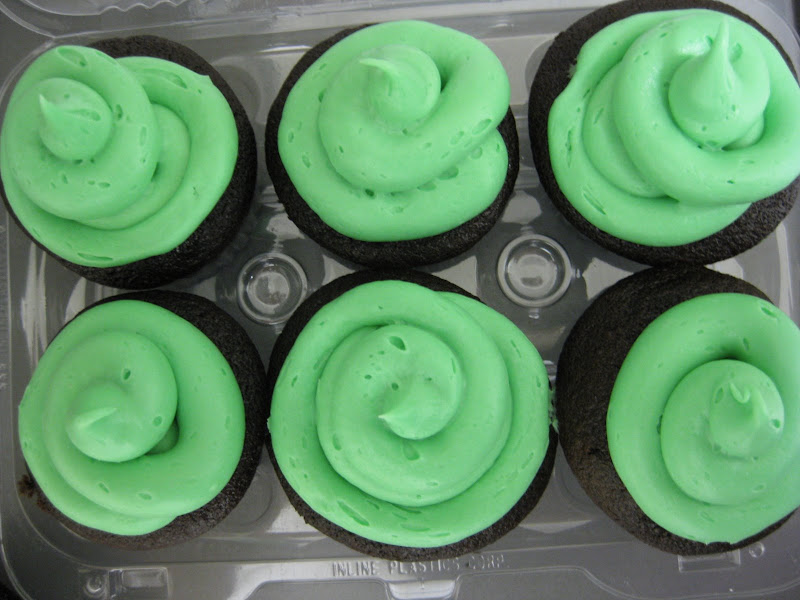 :Packaged for your convenience:

Go Team ChakaFeel!!!!!
 Moist...like all cakes should be, and no its not green doody!!!!
Oooo yahh lookin frosty... ;):Packaged for your convenience:Go Team ChakaFeel!!!!!
Moist...like all cakes should be, and no its not green doody!!!!You can't beat cream cheese frosting.... 1....2...3........3*!!...enough cupcake talk....now off to the land of carbombs.
Toodles!!!


